
Last week I attended the Cornell Cooperative Extension’s Master Food Preserver Course. This was a full 3 day course with both lecture and practical exercises culminating in a final exam and the award of a certificate of completion. I now have to complete hands on experience and keep a log of my activities that I will eventually submit (when I have 30-40 hrs) in order to actually gain the title of Master Food Preserver. At that point I will be qualified to teach via the Cooperative Extension and to judge state/county fairs.
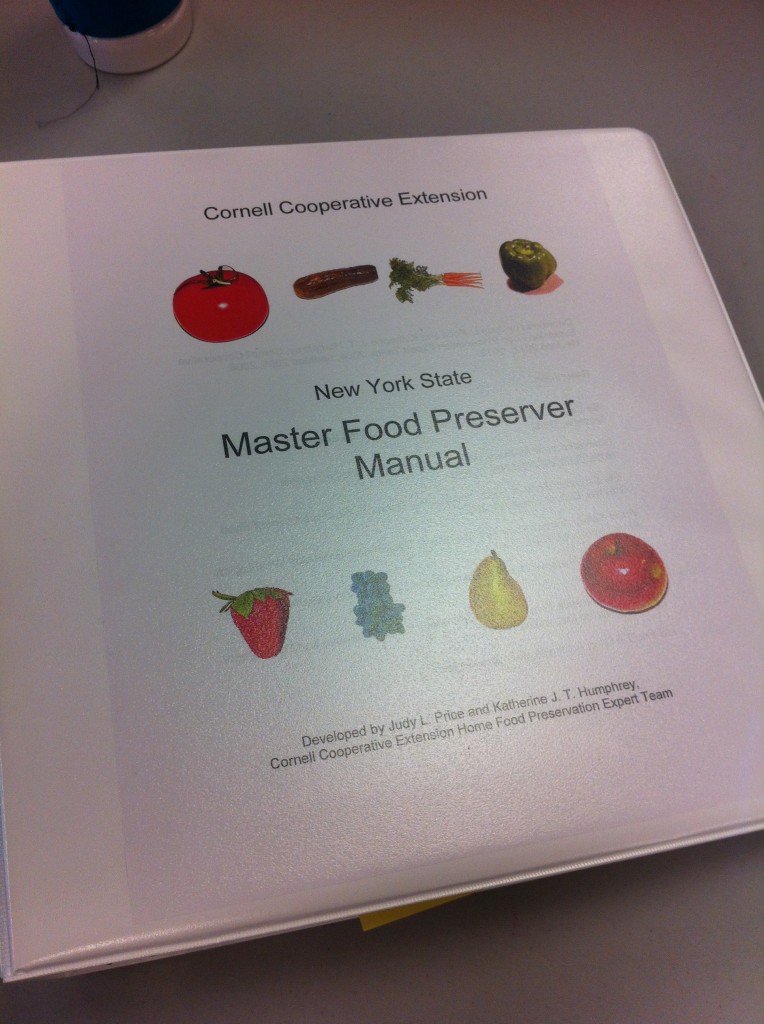
The big binder. This has ALL the info in it guys!
I took the course for a couple of reasons:
#1–I really believe that it is important for people to take responsibility for their own food supply. This has led me to be passionate not only about gardening, but also about preserving the harvest (be it from your own garden, the farmers market/store or a combination of both). So many folks are lacking these skills–it’s something many of our grandmothers and great grand mothers knew, but that got lost, frankly, when women’s liberation hit. Now I’m not knocking women’s lib–after all as a woman, the mother of a daughter, a small business owner and a former Army officer I’ve certainly been the recipient of benefits those women fought for. However I think we sort of “threw the baby out with the bath water” when we completely neglected certain skills such as cooking, gardening and home food preservation. I wanted to be able to help teach folks in my area how to use those skills–and I wanted to make sure that I was teaching them the absolute safest way. This course will enable me to help my county have more people who have those skills.
#2-Since I talk about canning a lot here on Frugal Upstate I wanted to make sure that I was sharing the safest and most up to date information out there.
#3-I just like learning.
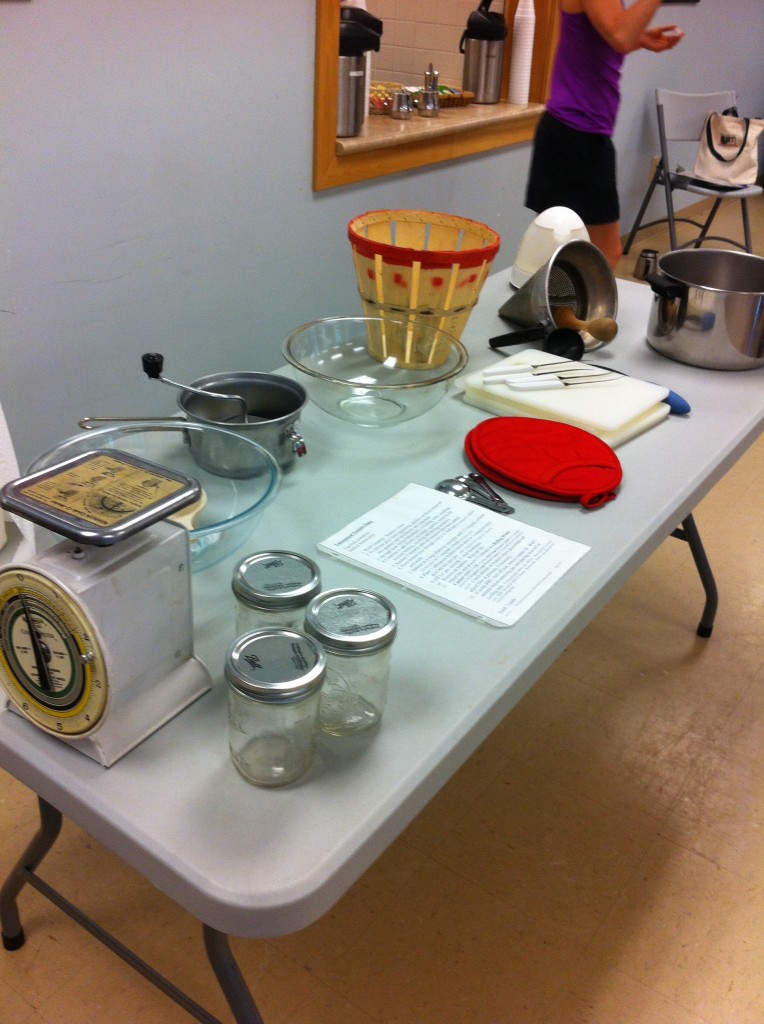
Our tomato sauce making station for the tomato practical exercise.
Now I’ve read a lot about canning and food preservation over the years. I taught myself how to can out of books, and then I’ve continued to read regularly both because I’m interested and because I have always wanted to have the best information for this blog. I went into this class pretty well educated, but I still have a few “Really? No kidding?” moments which I’d like to share with you.
After you finish processing items in a hot water bath you are supposed to turn the burner off and then leave the jars in the hot water for 5 minutes.
I had never heard or read this before. This is part of the USDA recommendations. It is supposed to help ensure the seal and to make sure the jar is safe to be lifted out. Oh, and you also aren’t supposed to lift the jar at an angle and let the water run off the top because there is a chance of that breaking the seal–It’s straight up and then gently straight back down onto your towel or cooling rack.
If you sterilize your jam jars for 10 minutes in boiling water, then you can reduce your canning time in the boiling water bath canner by 5 minutes.
Again–totally new to me. That means in most cases with sterilized jars you would only need to process for 5 minutes. Note: the USDA does not consider jars washed and held in the dishwasher or the oven to be sterilized–they specifically state boil for 10 minutes.
Hot packed vegetables (ie cooked before being canned) are less likely to float then raw packed vegetables.
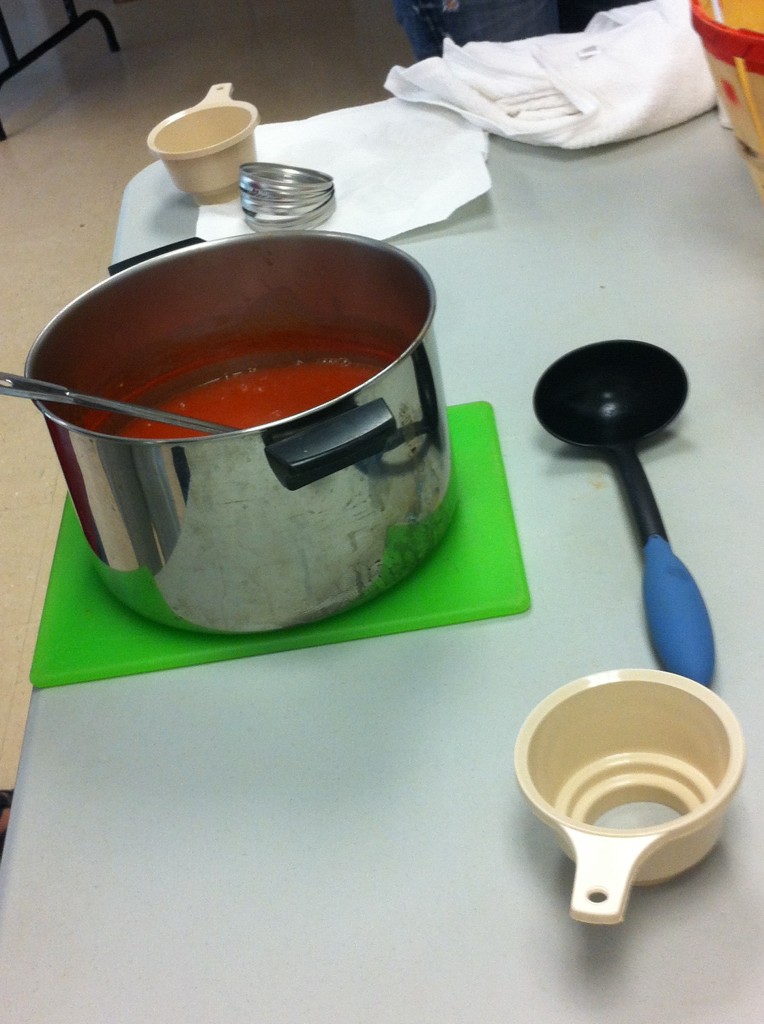
To keep tomato sauce and stewed tomatoes from “breaking” (ie liquid and solids separating in the jar) you need to start with just a few tomatoes and peel/chop/cook only as many as you can get up to temperature quickly.
This was interesting. So exposure to air is what leads the enzymes in your tomatoes to start breaking down the natural pectins. The pectin is what binds the liquids and solids together, so when the pectin starts breaking down the two separate. So in order to keep that from happening you need to both limit exposure to air AND get the product heated to stop the enzyme’s action. To do this it’s best to start with just 4 or 5 tomatoes chopped up and heated in the pot, and then to cut/peel only as many as you think you can add and still bring the temperature of the tomatoes back up to a simmer quickly.
Approved pickle recipes can be processed in a simmering water bath (180 using a thermometer) for 15 minutes.
I have not cracked the whole “making a crispy pickle” nut–so I’m thinking that a lower temperature would probably lead to a crisper pickle! I’m excited to try this.
If you use vacuum sealer bags to package frozen food you should slice them open before defrosting.
This one was interesting. They pointed out that it’s an air free environment, and since it has not been heat processed, and freezing doesn’t kill micro-organisms it just slows their growth, it is possible that botulism (which only produces toxins in an air free environment) could produce toxins in the food. So why take a chance, just put a cut or slit in it and then let it defrost that way. Of course you probably want to put it on a plate or something so it doesn’t leak all over your fridge as it thaws.
When you make homemade jerky it is recommended that you pasteurize it after it’s done drying by putting it in a preheated 275 degree oven for 10 minutes.
We tried jerky that had been treated this way and seriously–since the dehydrating had already been completed prior to the step I didn’t feel that it effected the taste at all. So why take a chance of some little nasty surviving on your jerky? It’s cheap insurance.

So I had a good time and learned a lot–was there anything I shared here that was new to you? Or do you have any questions I can answer?


“Oh, and you also aren’t supposed to lift the jar at an angle and let the water run off the top because there is a chance of that breaking the seal”
This right here is worth the price of admission. I’m a “tilter” and now I know better – thank you for sharing your knowledge!
Glad to help! I’ve always been a tilter as well–and usually my jars seal. . . but again, it’s a simple, tiny little thing and if it increases your chance of things going right why NOT do it? Canning is absolutely worth it–but it does take some time and effort and is SOOOO frustrating when you have a jar that doesn’t seal.
I’m not a canner, yet, but I’m flirting with the idea. Thanks for the helpful tips!
Kim–You should try it! If you are nervous then check with your local cooperative extension about classes, or google “canning classes” and the name of your town.
So when doing tomatoes, do you mean do small batches, or you can use a large pot, but only add 4 or 5 tomatoes to the pot at a time, don’t peel more than that before adding, and allow the pot to get back to simmer before adding more?
I’m used to the boiling water method of peeling and usually do that all at once, then peel and chop. But that would expose them to air, so I should do it in steps?
Ruth-if your sauce or tomatoes “break” and you don’t like how it looks (because it’s only a look thing–it’s still safe) then you start out by chopping & coring about 5 tomatoes. Put them in the pot, bring it up to a slow boil. When it’s there, then chop & core 4 more, add them in, let the pot come back to a boil (because you are adding cooler tomatoes it will cause the temp to drop for a few moments) then chop/core and add 4 or 5 more, continue until they are all in the pot.
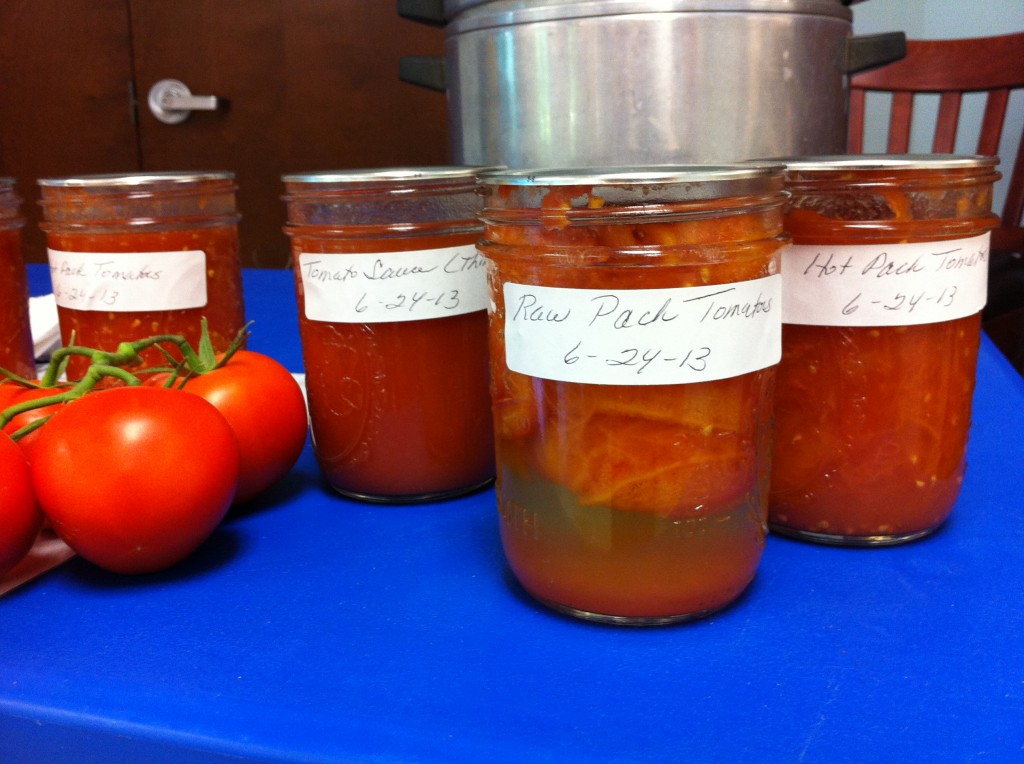
We didn’t peel for this–we cooked them and then we put them through the food mill.
Thanks to Carla Emery we already knew about simmering for pickles, and it does make for a crispier pickle. Highly recommended.
I’m excited to try it. I hate slimy pickles.
That sounds like such an interesting course. I’ve helped my grandmother can several times (usually green beans or pickle relish), but I don’t own a canner, so I haven’t been brave enough to try it on my own. I so agree with you that we’ve let some of the techniques our grandparents used fall out of fashion so far that folks in my generation simply wouldn’t be able to do it themselves. I hope as my little ones get a little bigger I’ll have more time for that sort of thing.
You should try it! A big canner pot isn’t too expensive and will last for years–maybe you could ask for one as a gift at the next big holiday. Canning really isn’t hard as long as you follow the steps and take your time. I love the feeling of accomplishment when I’m done–but I also love knowing EXACTLY what is going into my food.
What is the shelf life of home-canned food?
All my resources say that your canned food will be best quality if they are stored in a cool, dry, dark place and eaten within a year. But that is for BEST quality. Canned foods are safe for much longer as long as they were processed correctly and the seal remains. I have personally opened and eaten meat, vegetables and chili sauce that were over three years old with no reduction in quality that I could see.
Thank you for posting this. I especially appreciate your wanting to post accurate information. I shudder to think of the harm that could come from some canning information I read on various websites–oven canning, hot packing low acid vegetables, etc. I hope to try out the tomato information later this summer when tomatoes come in here.
Thanks Becka! When we have the information, the ways and the means to process things safely and according to the recommendations, I don’t see any reason to take chances!
Do you know where the part or section about cutting down the sterilization time is from USDA? Thanks!
Lorisa- Here is a document from the National Center for Home Preservation that mentions it in the directions: http://nchfp.uga.edu/publications/uga/uga_processing_j_j.pdf The National Center for Home Preservation is run out of the University of Georgia and is THE official US source for food preservation. Here is the link to their “about” page if you want to know more about them and their relationship w/the USDA http://nchfp.uga.edu/project_summary.html
You are awesome! Thank you! Someone skeptical was asking me for proof…I believed you of course! Now I can show them this yay!
Ball sells something called “Pickle-crisp” that can be added to keep any pickled veggie from getting mushy.
I’ve got to experiment more with the pickle crisp. . .