
Sometimes it’s hard to be the crafty mom of a boy. There are a million cute projects out there to do for girls, but the “boy” projects are few and far between. By the time they get into the “tween” and “teen” years you are hard pressed to come up with anything that they would actually use or wear.
So when Walmart asked me to come up with a summer craft to share, I was determined. I was GOING to come up with something for Buddy, and it was going to be something good, something even a teenager wouldn’t be embarrassed to own. The key to coming up with a good idea or product really is to solve a problem–so I thought, what problem can I solve with a craft? Well Buddy had received a Leatherman Wingman Multitool from his favorite uncle for Christmas. At $30 it’s a pretty nice tool for an 11 year old–so he’s being careful with it. I get nervous when he carries it in his pocket because he’s an active kid and I worry about him losing it.
Bingo–problem! How can he securely carry his Leatherman (or any knife for that matter). Answer? Duck Tape!
I love Duck Tape. This spring when we were at Walmart HQ the folks from Duck Tape gave us a great presentation on all their new products (Scented Duck Tape! Washi Duck Tape! Fabric Duck Tape!) and we did a few quick crafts (I made a pencil case). I just KNEW I could create a cool Duck Tape Belt Pouch. As a bonus? When I searched online I could not find ANYONE ELSE who has done this–so it’s a 100% Frugal Upstate original!
This project is great for a teen to make on their own, would be a good gift, and could be used as a Boy Scout project for a group.
How to make a Duck Tape Belt Pouch for a Leatherman or Knife

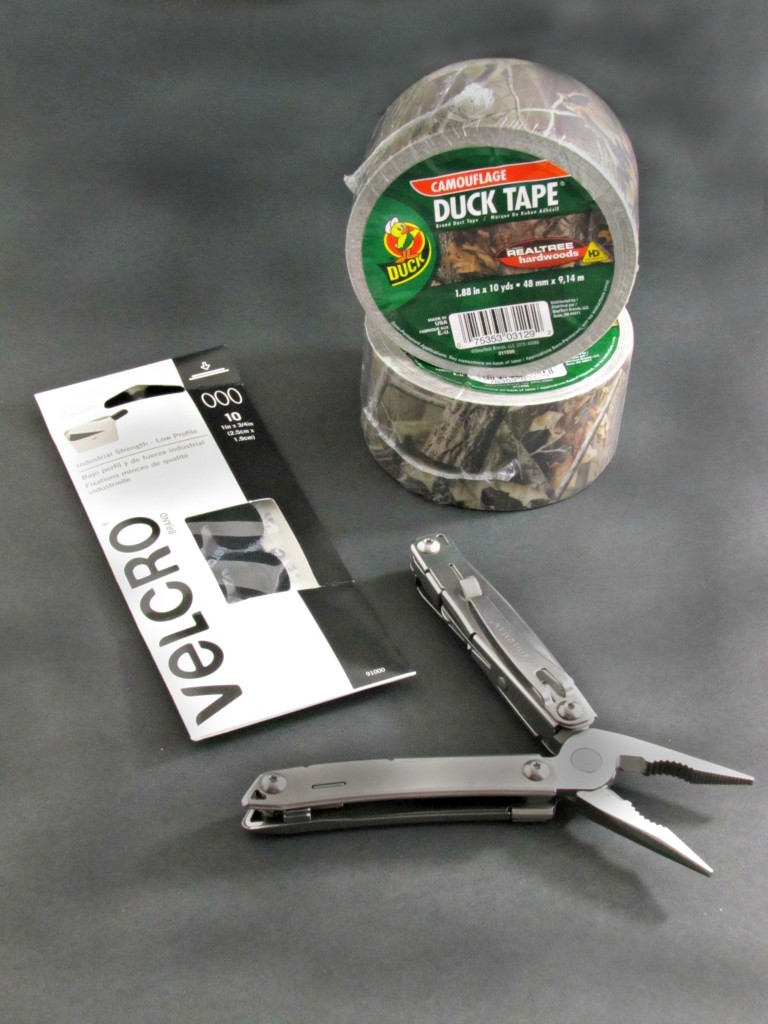
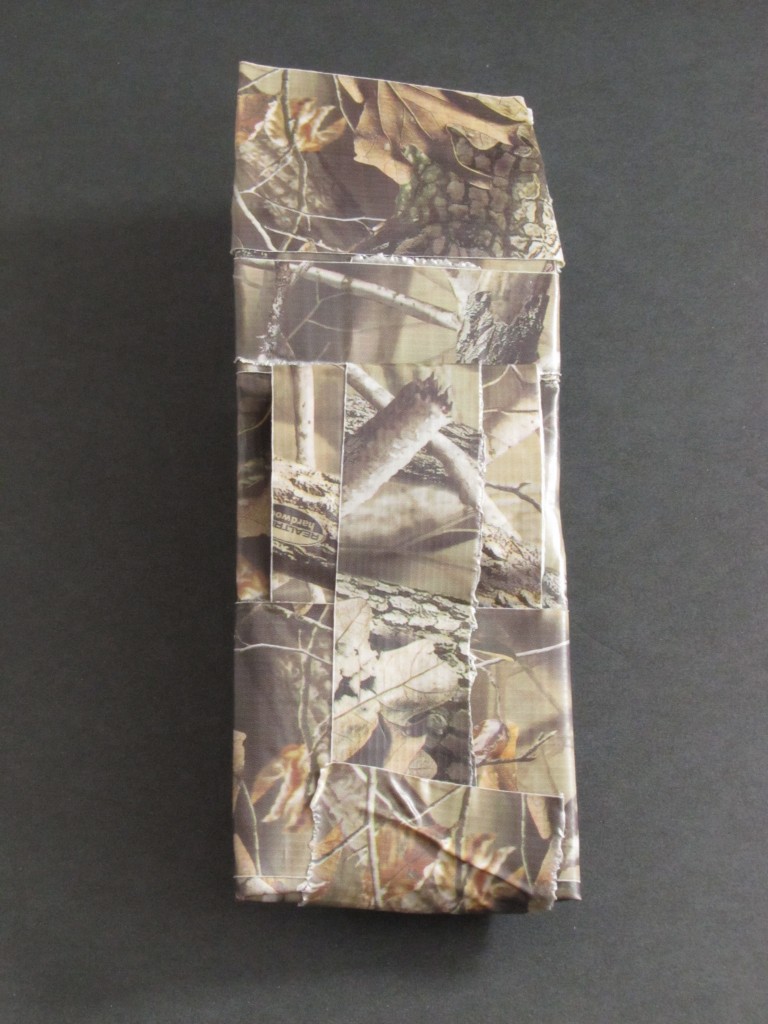
The materials are simple–Duck Tape ( I chose the Realtree Camo) and some Heavy Duty Velcro. You will also need the knife you are fitting, a pen, some paper, and a pair of decent scissors.
Note: This project took about 1/3 the roll of Duck Tape to complete.
I created a template for the Leatherman out of paper first to make sure everything was going to fit the way I wanted it to.
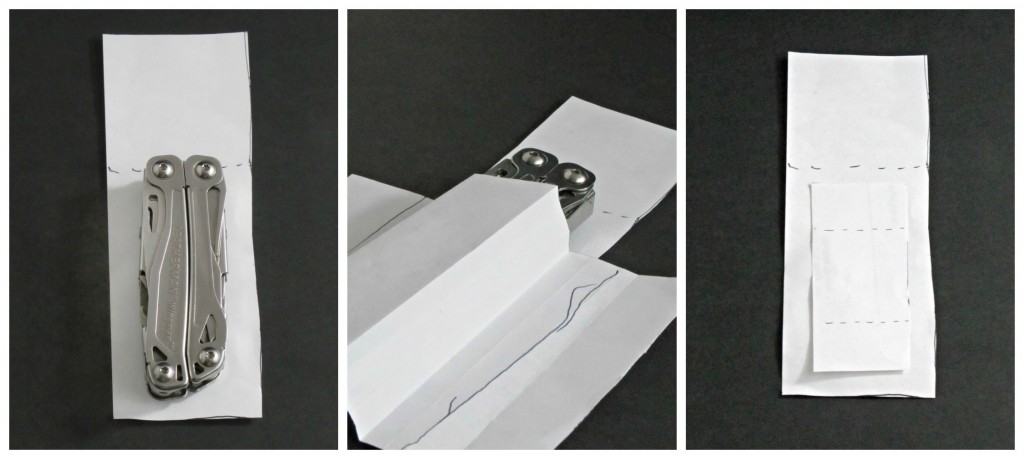
I used the knife to figure out the size for the back piece with enough to make a flap over the top. The front needed to kind of “pop out” to accommodate the thickness of the leather man. I decided to make a small accordion fold on the sides. In the middle picture above the pen line will actually be in closer to the knife–the edge of the paper will line up with the edge of the back underneath. There is a tab coming off the bottom to be, well, the bottom of the pouch. You don’t want the knife to fall out! That was made to wrap around to the back and be taped in place for stregnth. Finally, I made a piece for the belt loop on the back.
Once I had the pattern figured out it was time to start construction. The basic building block for most Duck Tape crafts is “fabric” made from the tape. You lay down overlapping strips of the width you need with the sticky side up, then you cover them with overlapping strips sticky side down. . . you wind up with a thick “fabric” where you have pattern on both sides.

Then I just laid out the pattern pieces and cut them out.
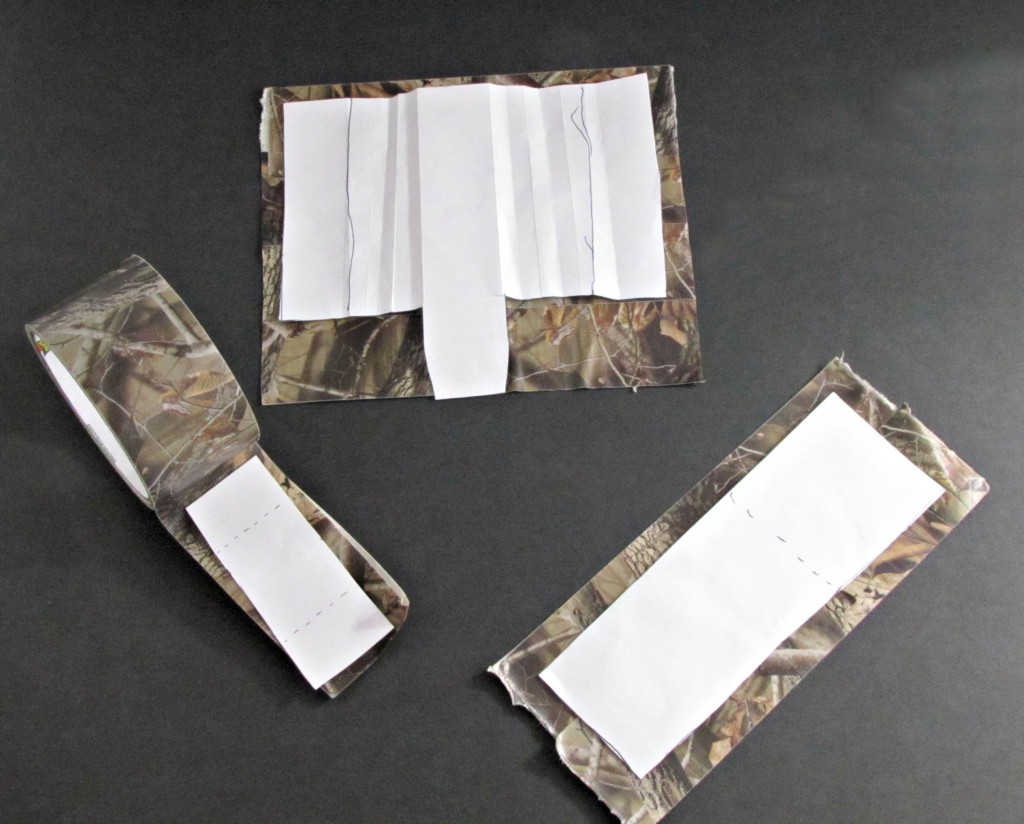
I realized I had messed up on the belt loop. I really needed it to be sticky on the ends–from the dashed line to the ends. I also realized that I could easily just make the loop the width of the tape. So I tore off a piece of tape the right length and then used a small piece the size of the middle to make the small fabric portion in the middle.
Then it was assembly time. I just folded and matched up things. I set a heavy book on top of the front piece for a bit to set the creases in where I wanted them, then I just used more Duck Tape to attach everything together.
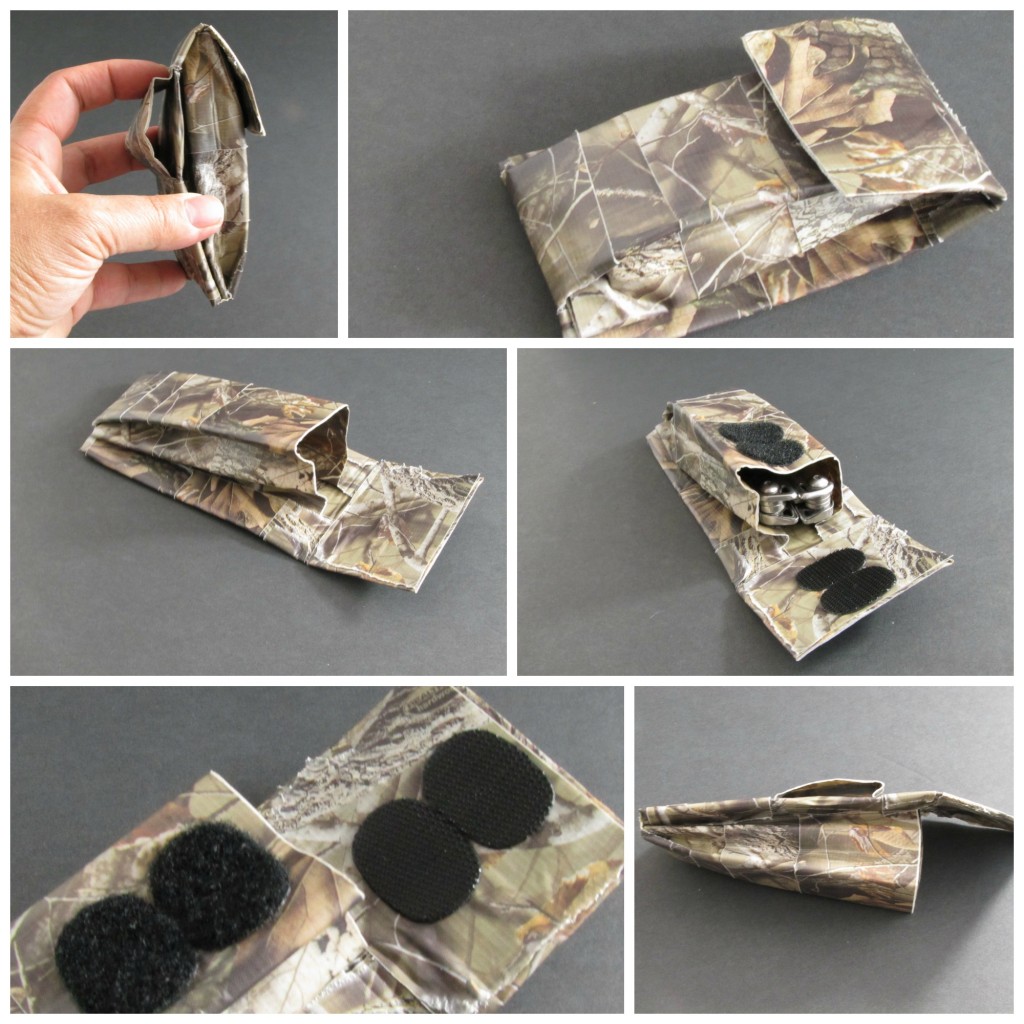
The part that concerned me the most was the belt loop. I wanted it to be strongly attached so that the entire pouch wouldn’t rip off his belt. After all, then he would have lost his Leatherman now encased in camo somewhere on the forest floor. It would be practically impossible to find. So I reinforced the loop several times after it was attached, covering the parts where the tape was holding it on both horizontally and vertically a couple of times. It’s pretty solid now.
So there you have the Duck Tape Belt Pouch!

****This is a sponsored post****
 Disclosure: As a participant in the Walmart Moms Program, I’ve received product samples and compensation for my time and efforts in creating this post. All thoughts and opinions are my own.


Leave a Reply